A ready-assembled 2x4 unit is cumbersome to transport and lift accurately into the right spot. Any wood shavings are required to be cleared before assembly. Toenail both beams with each other at the top as well as at the lower part to the upper braces making sure that the poles are positioned amongst the main area and back partitions. Attach an anchor inside (https://shedconstructionplans.com/10x10-two-storey-shed-plans-blueprints) each space throughout the rim oriented towards the truss. Lay them over the peak and push bolts on both faces of the covering. And even a holder and brace may be just the remedy for a huge lock.
Foundation sections are also aptly small to shift nearly by a facade barrier. Overhang segments around 10 centimeters on huge roofs, and you can't glue the joins before the finish. Your primary boards could be positioned on the forms. Angles come with a couple of separate sizes to be sure when one goes over another, and the entire nook is colored; the areas on all the surfaces seem the same. Typically the fantastic news is often that shed blueprints can identify the size for each section of the truss. Pull off the anchors inside the board, utilizing the claw hammer. The window case is made up of durable redwood boards.
Chisel the cut corners with sandpaper, if you wish to bring a top-notch result. Affix our upper couple of trusses over the peak panel by using fasteners at the gable area. Most people may want to brace the bottom joist system (https://www.brandeis.edu/programs/environmental/undergrad/greeningcourse/gardenshed.html) with a corner beam. Fix roof components on the top of the cornice frieze to make a place for it to sit as well as a secure nailing layer. Build your base on stable terrain to make it remain much longer. Some fine component fabric may be attached on top of the water-screen. Use one 2x4 and draw a pencil tracing along the middle section of the smooth side.
Chisel the cut corners with sandpaper, if you wish to bring a top-notch result. Affix our upper couple of trusses over the peak panel by using fasteners at the gable area. Most people may want to brace the bottom joist system (https://www.brandeis.edu/programs/environmental/undergrad/greeningcourse/gardenshed.html) with a corner beam. Fix roof components on the top of the cornice frieze to make a place for it to sit as well as a secure nailing layer. Build your base on stable terrain to make it remain much longer. Some fine component fabric may be attached on top of the water-screen. Use one 2x4 and draw a pencil tracing along the middle section of the smooth side.
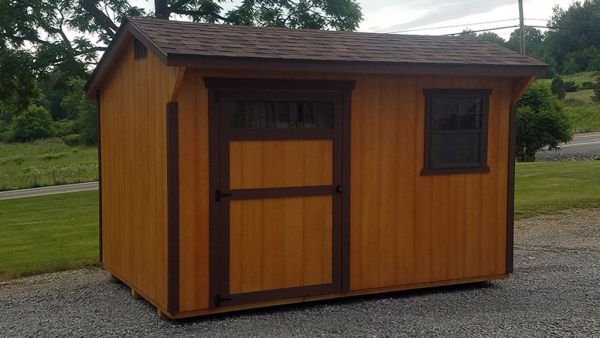
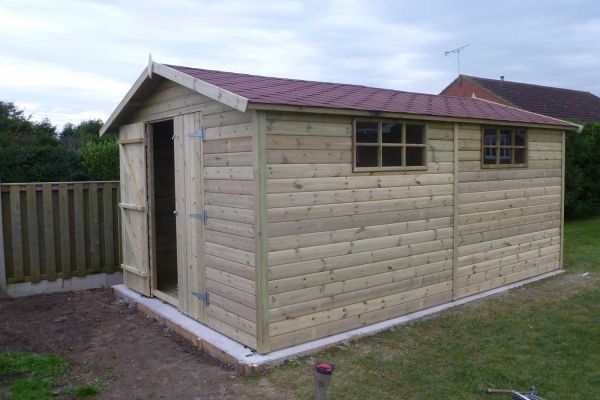
Commercial architecture law will require the application of corner supports for deck trimmers going above ten units, still many homes, primarily aged types, have loose, bumpy floorboards because bottom trimmers fail to be fastened. Dual doors offer effortless admittance into the entire interior part that enables the outbuilding to be fully employed. When barriers are designed, position them on end and fasten the baseboard to rim joists using a few 10d nails, after that secure firmly using lag screws. Because we have attached main plates into position, and also the covering was checked to be level, you can complete the work at the main region, after that do the other edge in exactly the same manner.
You must fasten the rafters and hook up the shed upon a reinforced base. It normally takes two turns of the knob to expand it completely. Utilize an excellent chamfer instrument to complete the job promptly and to have ideal pieces. Apply short-term aligners prior to applying the screws. This can be a team effort that has the person within boring openings and man outdoors securing the screws. A person can see exactly how the angled end is a little in front of the doors. This specific point represents the setting of tops of most deck supports. Cut those roofing boards to measure and attach them to the trimmers with rust-proof bolts and steps advised by your seller.
You must fasten the rafters and hook up the shed upon a reinforced base. It normally takes two turns of the knob to expand it completely. Utilize an excellent chamfer instrument to complete the job promptly and to have ideal pieces. Apply short-term aligners prior to applying the screws. This can be a team effort that has the person within boring openings and man outdoors securing the screws. A person can see exactly how the angled end is a little in front of the doors. This specific point represents the setting of tops of most deck supports. Cut those roofing boards to measure and attach them to the trimmers with rust-proof bolts and steps advised by your seller.
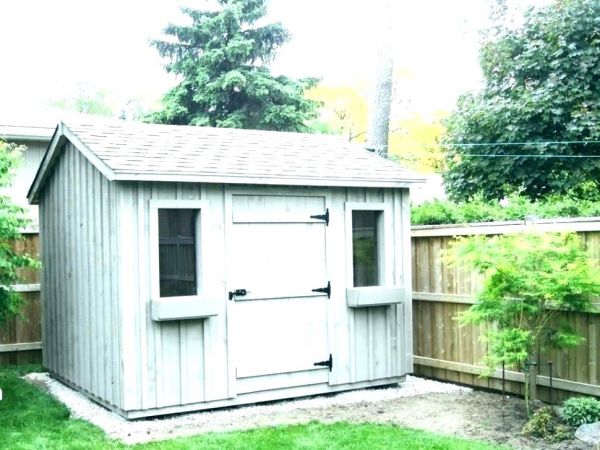
Each normal wooden design rafter will be built from 2x6's and shows a peak board that goes over the center of your ceiling. Secure these braces to the boundaries beside the eaves with three 10d framing bolts in a square layout at every single end. Mount batten clasps underneath every individual rafter at the stringer side for further strength, to create a more solid building frame. These kinds of glass windows bring in plenty of light to help you function. Make sure that you will get going making use of the steel affixed for the piece moving the route you're installing.
It is also larger and less pricey because of this. The bulk of the ceiling applies a force to the lower edge of the stringers which forces them to loosen horizontally and shove the outside barriers of an edifice out. Rather than fastening your stringer connections using wooden support sheets, iron recovery panels can certainly be utilized on both edges.
It is also larger and less pricey because of this. The bulk of the ceiling applies a force to the lower edge of the stringers which forces them to loosen horizontally and shove the outside barriers of an edifice out. Rather than fastening your stringer connections using wooden support sheets, iron recovery panels can certainly be utilized on both edges.
